My Top Tips For Colourwork, Stranding and Chart Knitting
My Top Tips for Colourwork, Stranding and Chart Knitting

Last week I decided to do my first knitting project for HiyaHiya Direct - I’m a recent addition to the team - and keep you up to date on how it was going on Instagram stories! Rather than starting off with something quite straightforward, I decided to jump into the deep end and try my hand colourwork, also known as stranded knitting, and chart knitting! So here is an account of how it went and my top tips. Also, if you don’t follow us on Instagram, make sure it’s the first thing you do once you’ve finished reading my blog!
I decided to find a pattern that suited the yarn I had already in my stash. So after raiding my stash I came across a couple balls of Drops Flora in red and off white that I had left over from some festive bunting I made as a present for my mum. It’s a lovely wool and alpaca 4 ply blend (65% to 35% respectively) and really is lovely to knit with and blocks well.
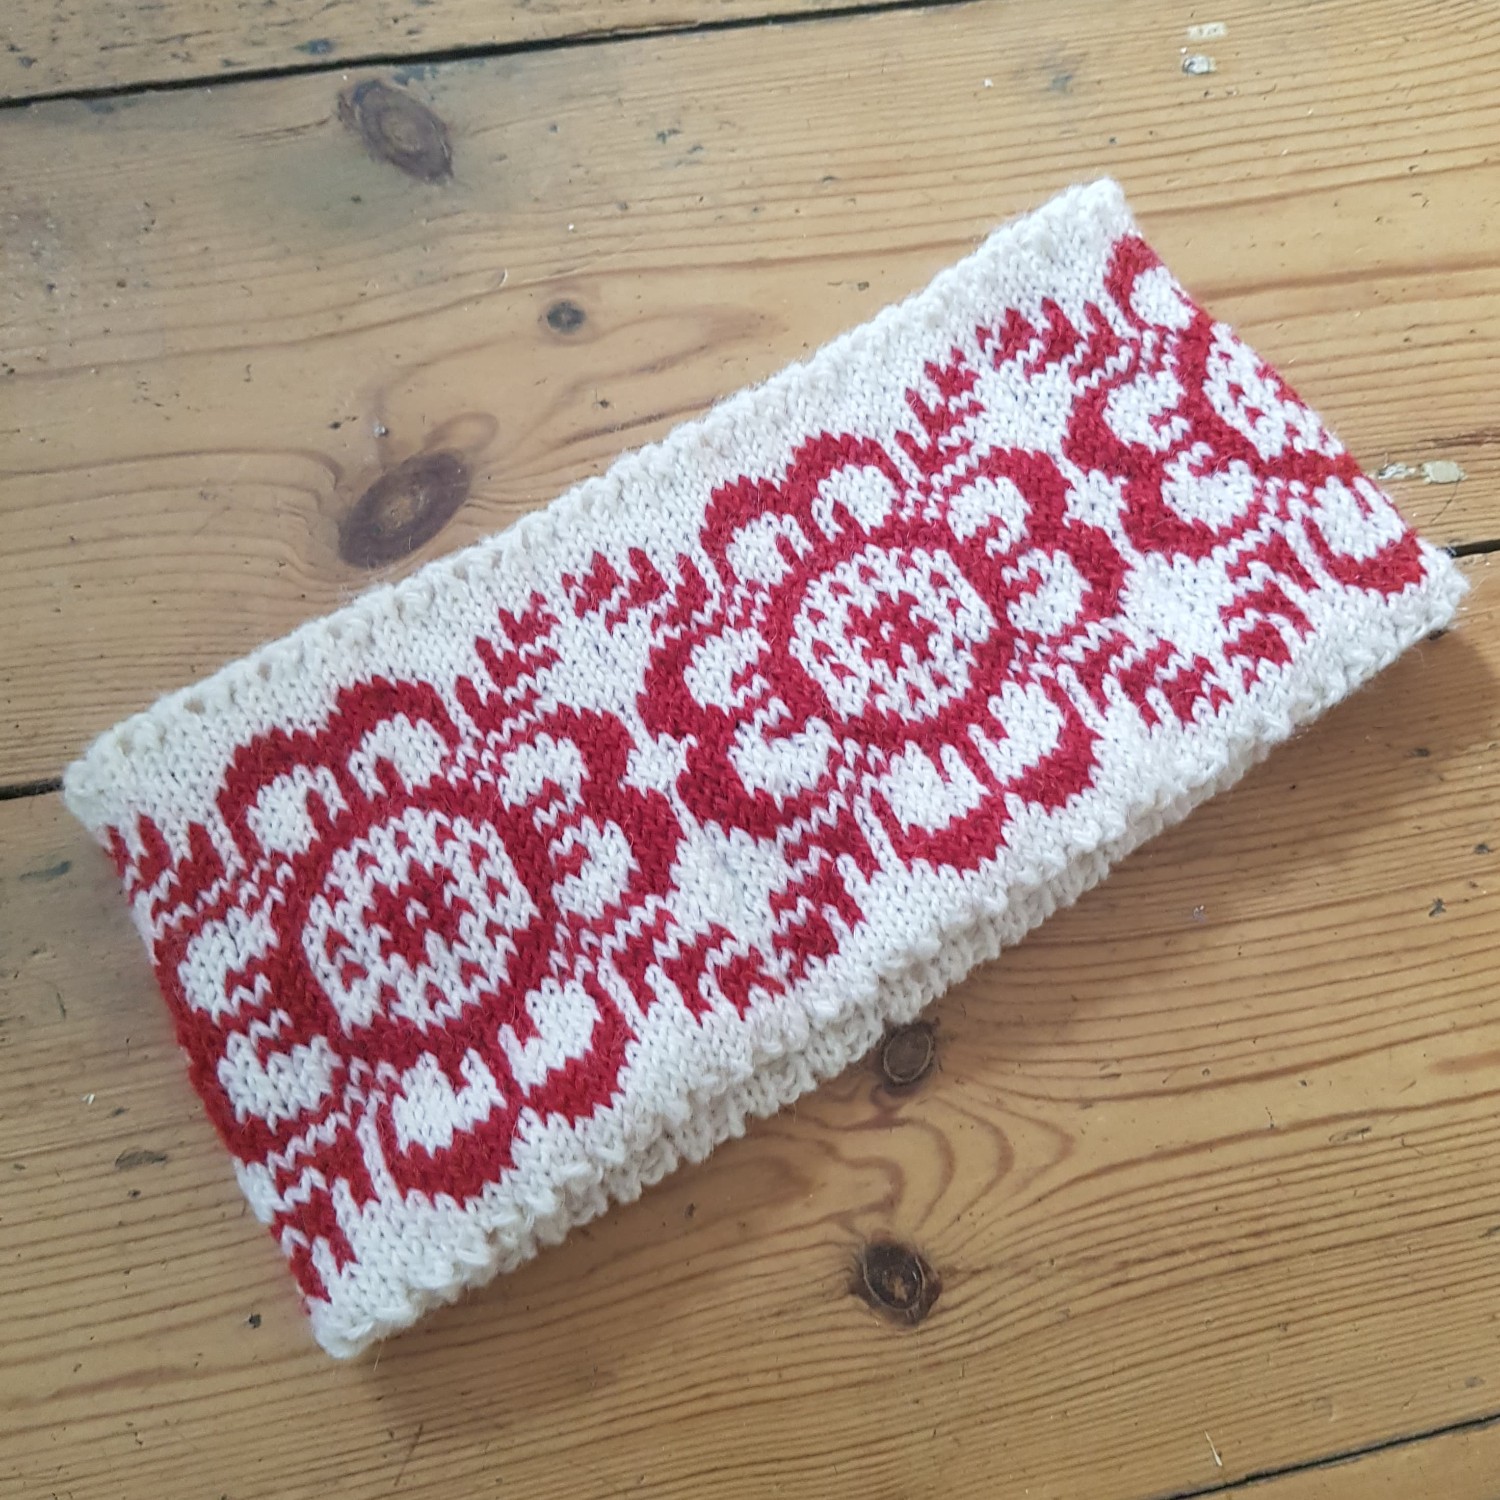
Having these colours I figured something Scandinavian would work well, as these colours really are iconic in Scandinavian knitting, so off I headed to Ravelry to find my next project. I finally came across the lovely free pattern ‘Headband Norwegian Rose’ written by Kristin Myrmel from Norwegian Knitting.
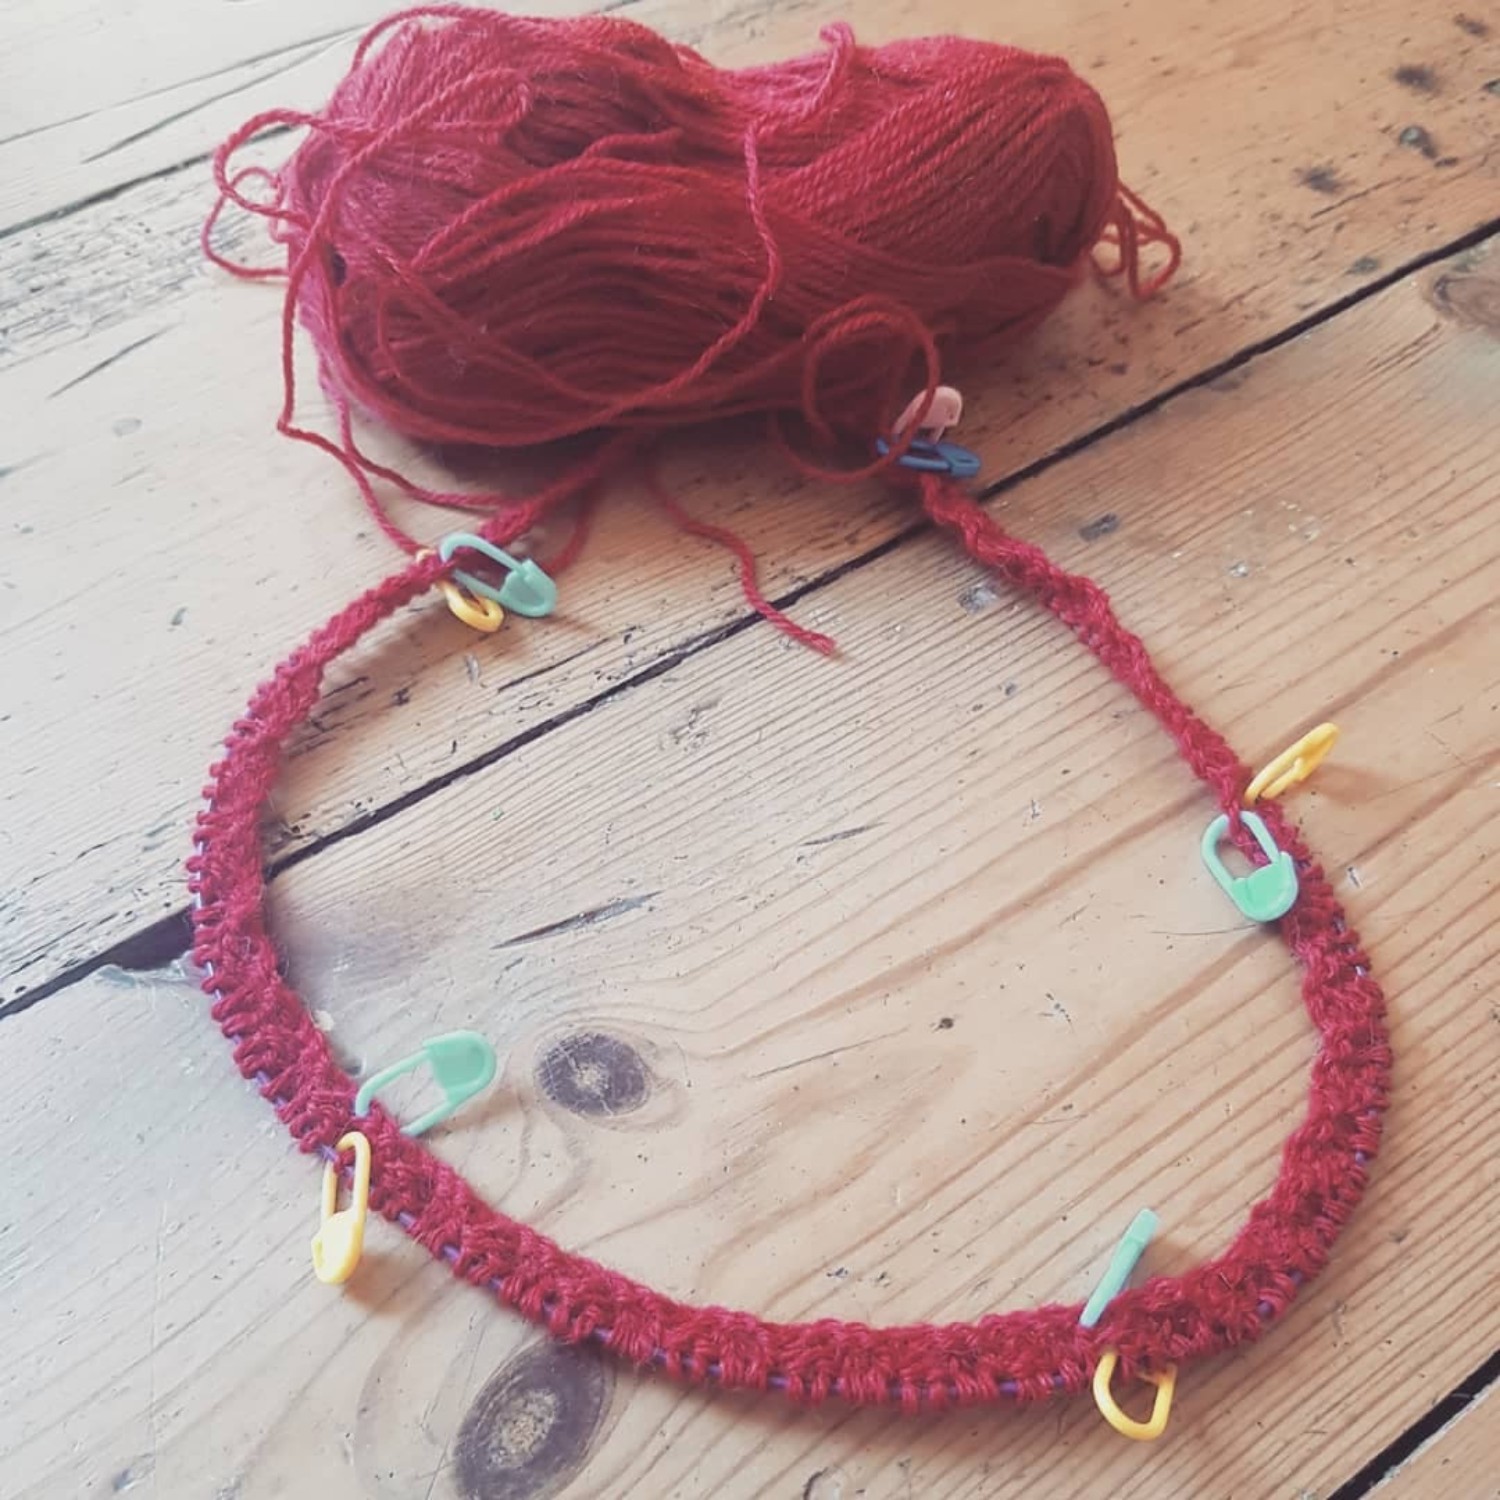
So off I go to find my 3mm interchangeable needles and started to knit! The pattern was super easy to follow and well written. I always recommend that you read through the pattern before you start knitting, this will help you gain an understanding of how the pattern works and allows you to troubleshoot before you get to any issues or uncertainties. Personally, I rarely do a test swatch to check gauge, very naughty I know, but I’m more of a ‘wing it and see’ kind of knitter.

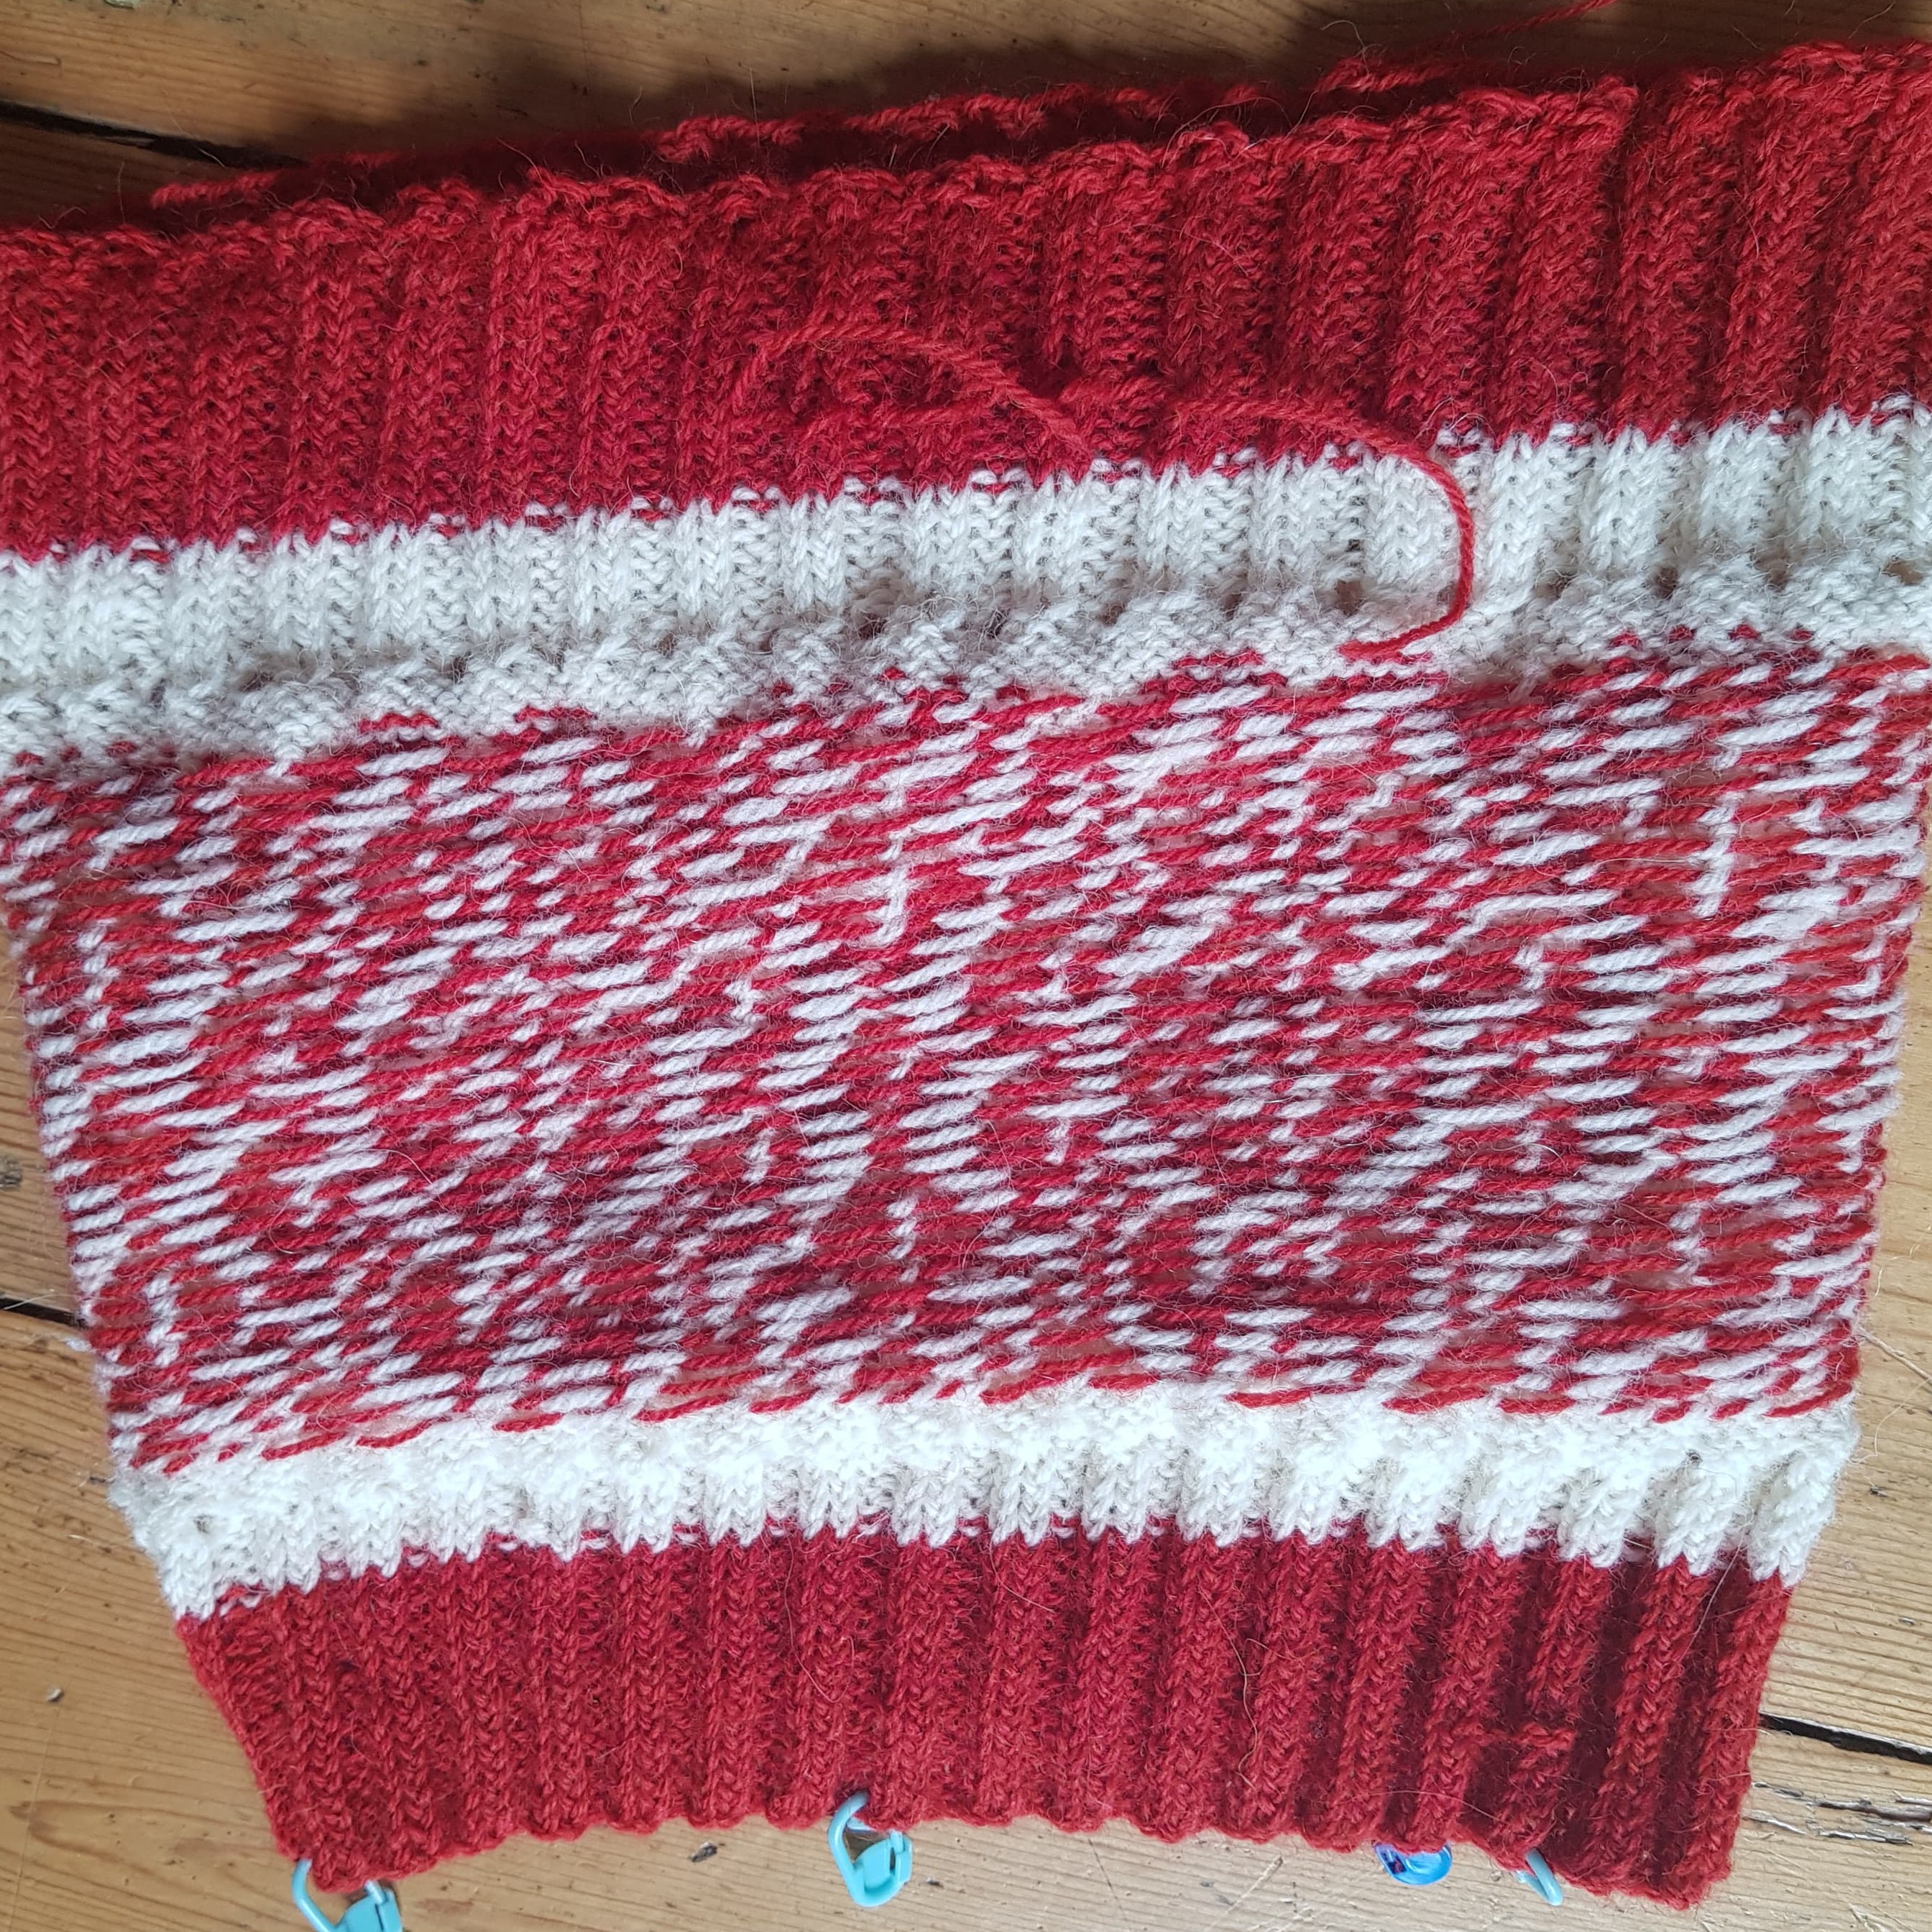
Obviously, when I got to the difficult bit of the colourwork and following the chart, I had to start paying a little more attention and really focus. Don’t panic if it looks a little daunting at first. If it helps, cover the other rows of the chart so the only one you can see is the one you’re working on, this will help you focus on exactly what you are doing. I also found that checking my stitches against the previous row helped me stay on track. Try out a few different options and see what works for you.
Should you choose to make your own Norwegian Rose Headband or just do any colourwork or stranded knitting project, ensure you are regularly stranding your yarn(s). I did this every 3 or 4 stitches to ensure that the back of the work was neat and tight. It’s important to make sure that when carrying your yarn you don’t pull too tight, or this will cause uneven stitches and will cause your pattern on the right side to appear distorted. If you’re unsure where to begin when it comes holding two yarns at once, or how to strand your yarns, KnitPicks has a really good video that takes you through it all.

My other top tip is to use a stitch marker to not only mark the start of the round, but also the start of each repeat of the chart, as this really helps you figure out where you got to in the pattern if you stop mid-round. I use a different colour to mark the start of the round as I do to make the start of the repeat to ensure I can differentiate quickly and easily. Marking it in the first few rows also helps you measure straight (super great for larger projects as apparently I can’t measure straight).
When it came to following the chart, I was working from my laptop as I don’t have a printer, and so that meant I couldn't mark it off on the print out like I would have liked to, so I had to keep meticulous notes on where I was up to, but obviously that didn’t always happen, so I spent a rather long time comparing my stitches to the chart. Next tip, keep meticulous notes, it will save you time in the long run!
Binding off, I opted to a stretchy bind off, which was probably not the best idea, and next time I won’t as the cast on edge and bind off are then sewed together. The stretchy bind off didn’t really make this bit easy, so don’t do what I did, just cast off as usual. Although the stretchy bind off has a lot of uses, this wasn’t one of them.
To sum up, it was a really fun project, colourwork is something I haven’t done in a while, so it was a good one to start with after a while and I love the outcome. It is going to be a great winter headband to keep my ears warm on those bitter mornings, which are thankfully a good six months away.
If you have any questions, please do feel free to message HiyaHiya Direct on either Facebook or Instagram and we will get back to you.
Pattern: Headband Norwegian Rose by Kristin Myrmel (Ravelry, free pattern)
Yarn: Drops Flora, 4 ply in Off White and Red
Knitting Needles: HiyaHiya Europe 3mm interchangeable circulars, browse our range of interchangeable needles here.
To stay up to date with our latest projects and products be sure to follow us on Instagram and Facebook.
Happy knitting and until the next blog!
Emilly x
