Make your own Baby Yoda with Amigurumi
Make your own Baby Yoda with Amigurumi

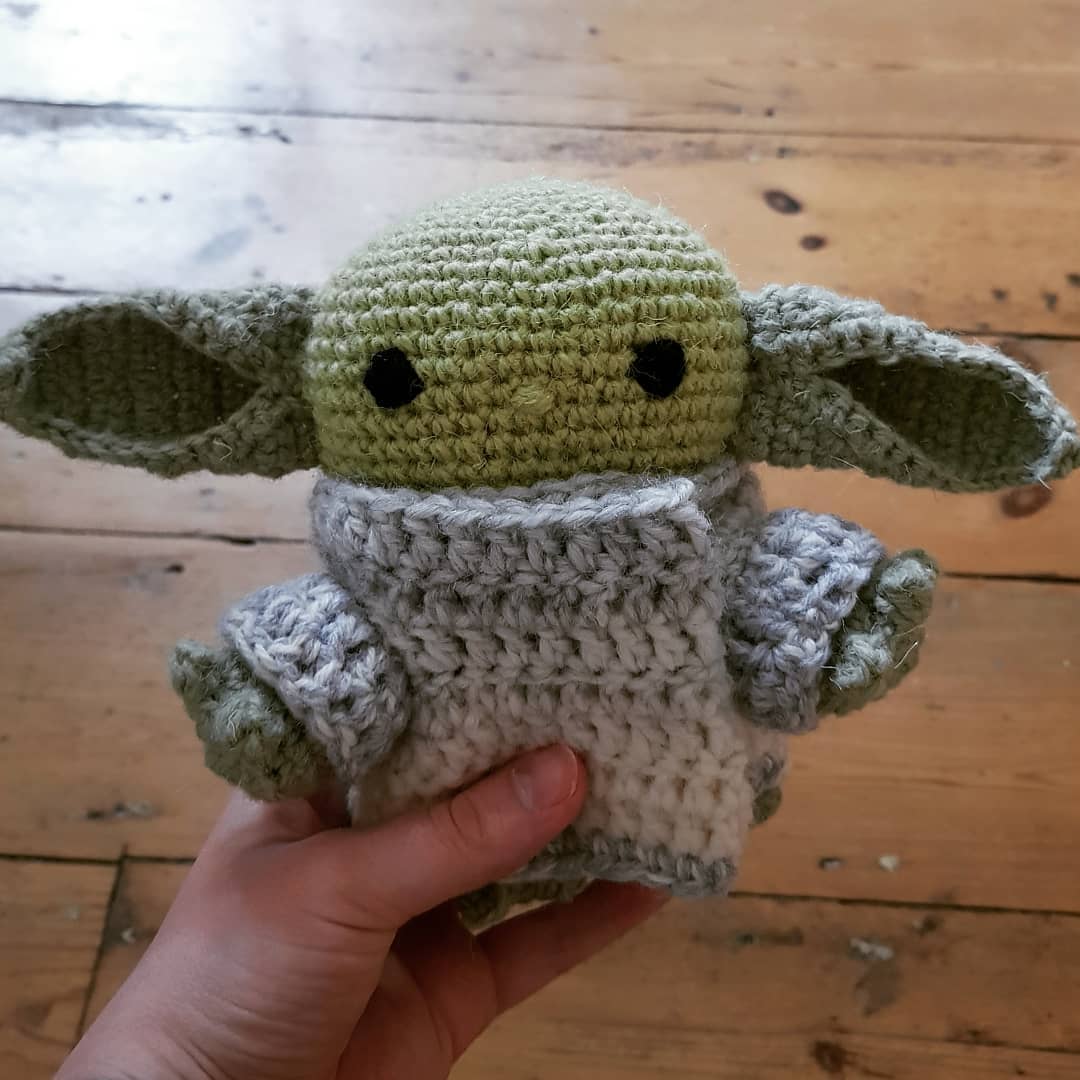
Finished Baby Yoda - by Emilly
This week we celebrated Star Wars Day, May the fourth (be with you), and in honour of this wonderful day I decided to take on a little amigurumi Yoda project.
If you aren’t familiar with amigurumi, it is a Japanese style of crocheting and knitting used to create stuffed toys. It is usually done with small hooks in order to create a nice tight piece which is then stuffed with polyfill, the tight shell helps to prevent the polyfill from coming out. The patterns normally consist of magic rings, single crochets, slip stitches, increase and decrease, so stitch wise aren't normally complex. My first tip is to master the magic ring, it will come in super handy when trying your first amigurumi projects, and many other projects in the future. Here is an instructional magic ring video from Lexie Loves Stitching that I found really helpful when I first started crocheting a couple years ago.
Anyway, with Star Wars day in mind, I decided to make a Baby Yoda doll and went to Ravelry to find a pattern. Having looked at a couple different patterns I decided on using Baby Yoda Amigurumi by Larrisa Maced.
In terms of yarn, I used what I had in my stash. I used two different green yarns because I didn’t have enough of one for the whole project, so the lighter one was used for the main body and the second darker green was used for limbs and ears. I got these yarns from Staithes Arts and Craft Centre whilst on holiday in Whitby a couple years ago. The wool is hand spun and dyed by the wonderfully talented Eliza Conwayand it is categorised as ‘carpet yarn’ and can be purchased for just 50p a ball. What a bargain! Hence why I bought 20 balls on my first visit.

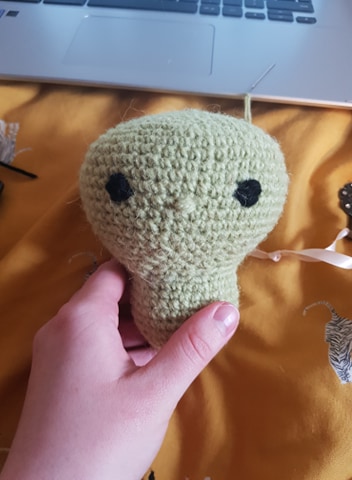
Yoda's Completed Face and Body - by Emilly
Making Yoda’s head and body was pretty straight forward and didn't take too much time. I checked my stitches at the end of each round to make sure I had the right number. It’s harder to fudge an extra stitch in amigurumi than it is normally, so do count your stitches regularly. I also recommend marking the start of the round with a stitch marker as it can be easily lost when you get going, so as I said in my last blog about colourwork, when working in round do make sure you mark the first stitch in the round.

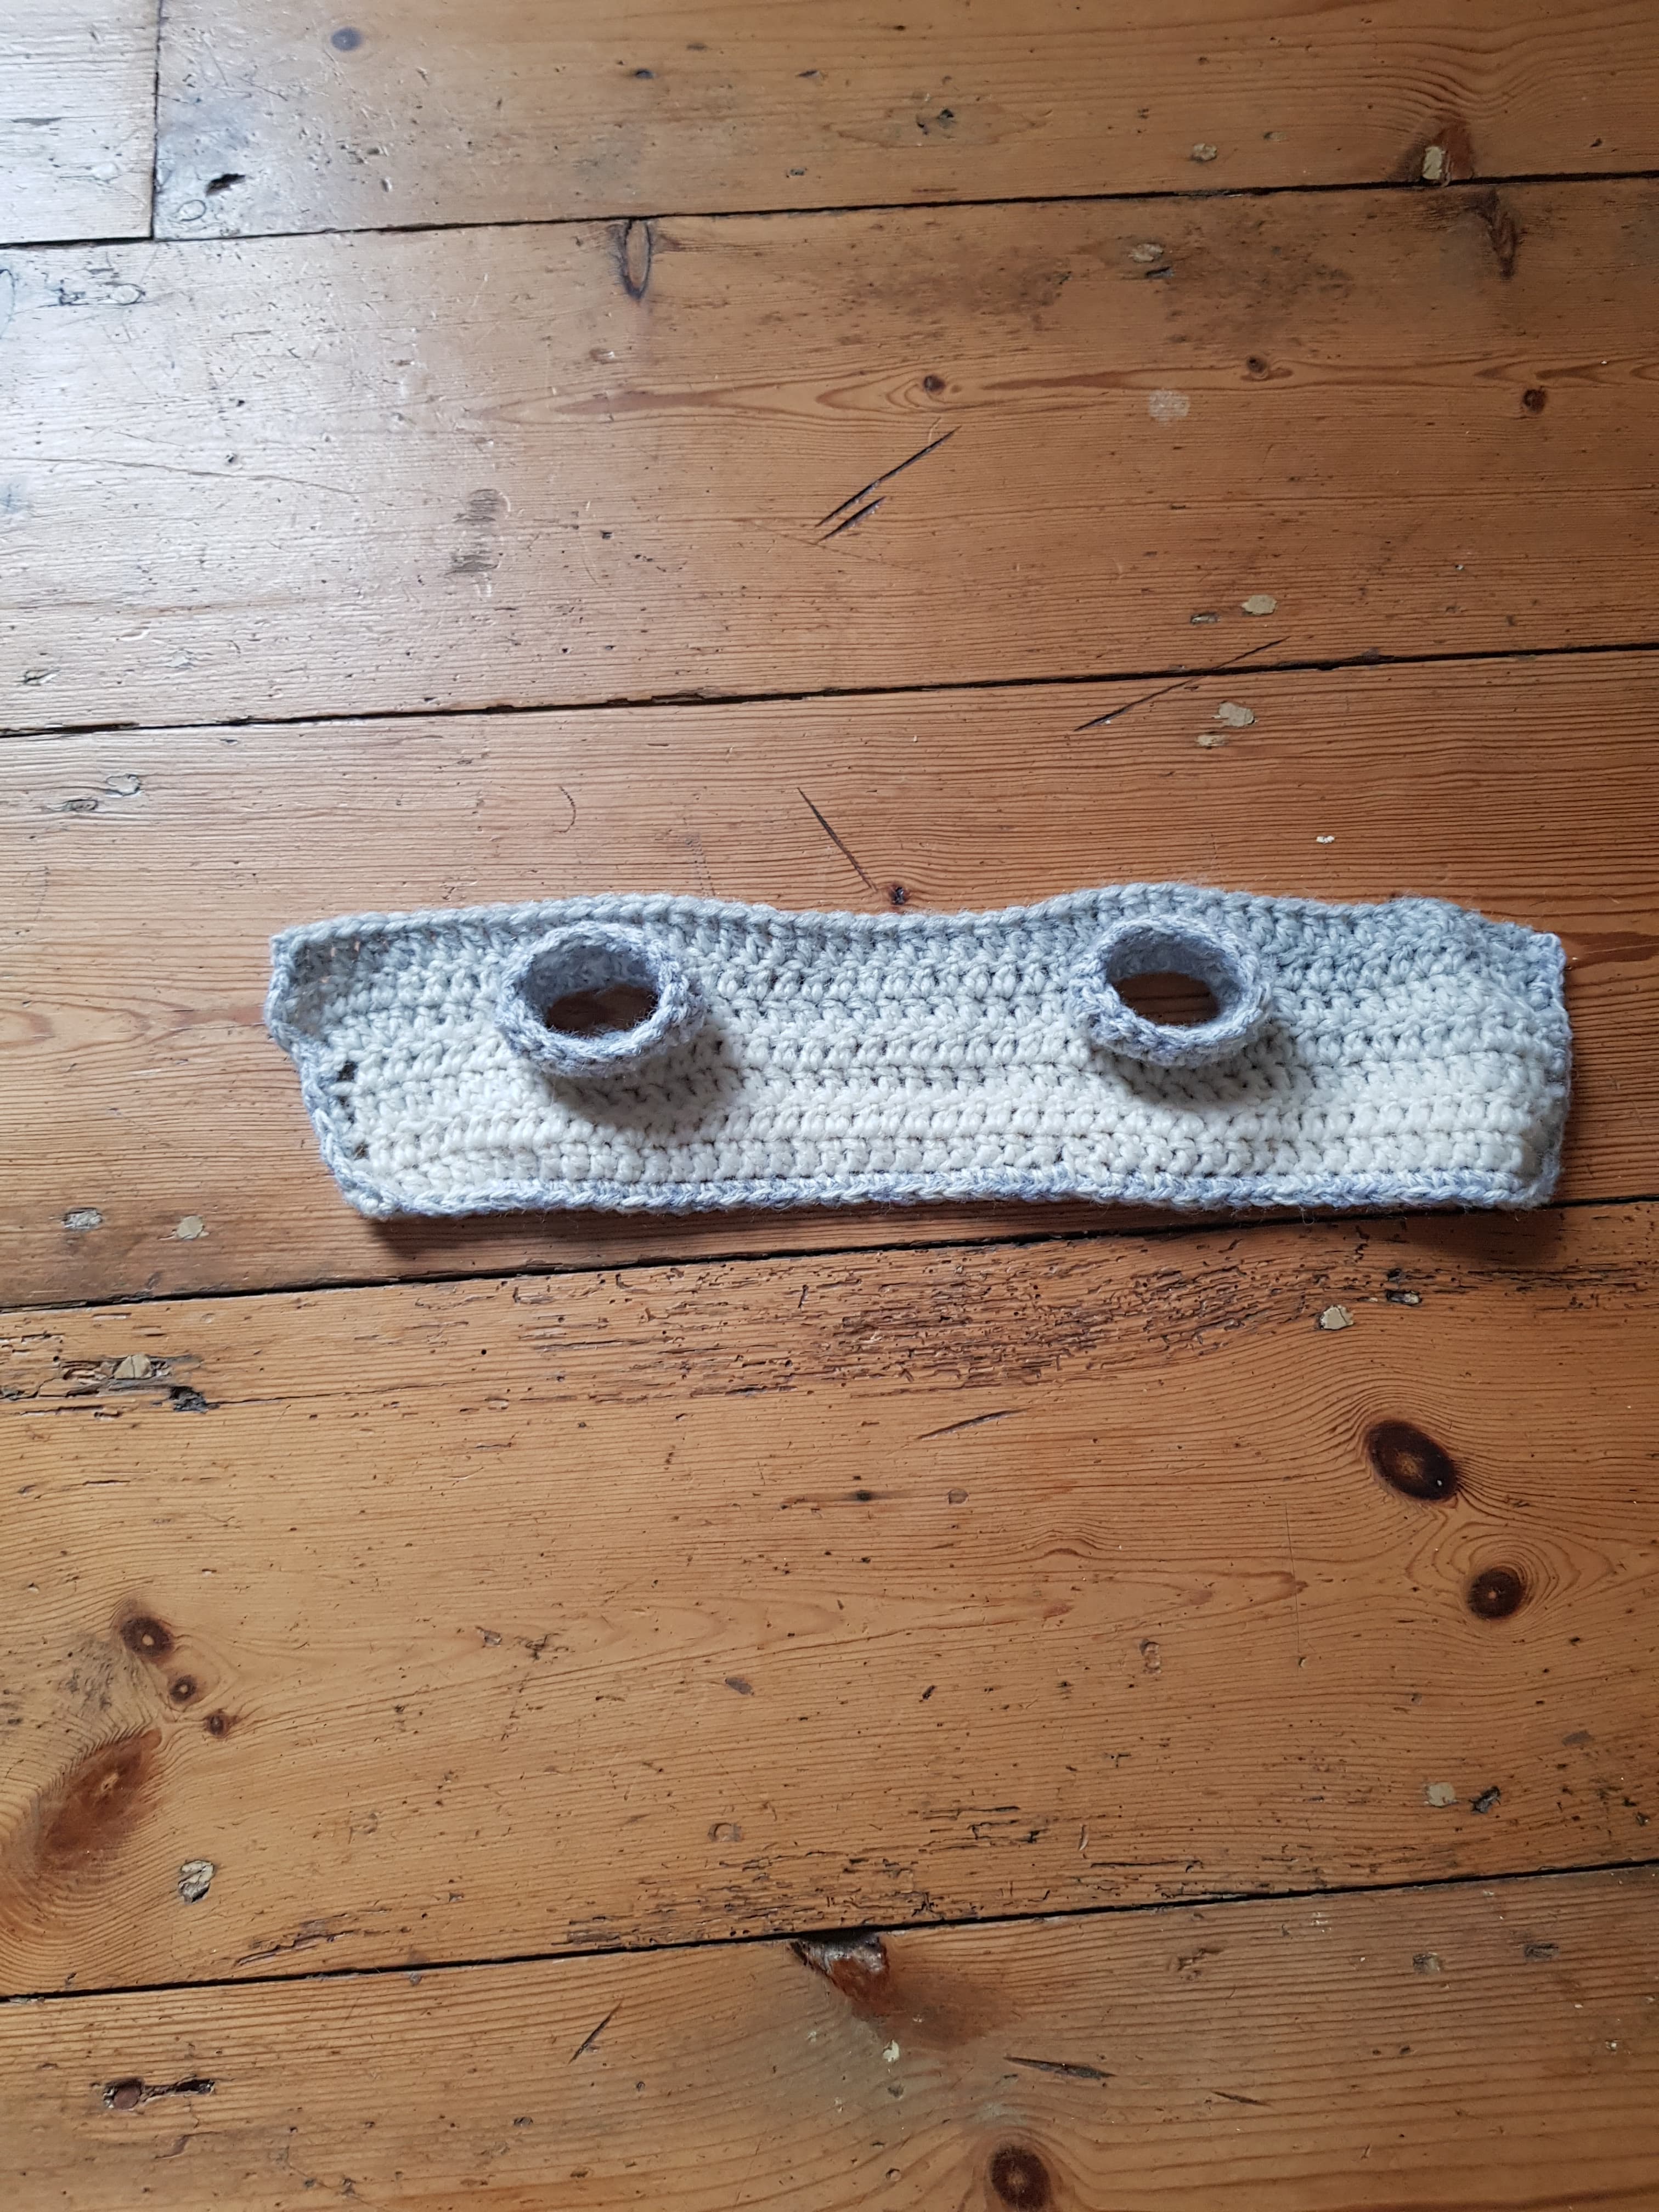
Yoda's Finished Cardigan - by Emilly
When it came to making Yoda’s cardigan, I had some left over Lion Brand Scarfie (chunky, 216 Cream/Silver) from when I made my mum a shawl, however I ran out of this too. So I did the border and sleeves by using two strands of yarn, one light grey and one white (I think it was Stylecraft DK, but I lost the bands, so who knows). It worked out alright, I quite like a little patchwork crochet, I think it adds a little individuality to the finished project. The cardigan came out a little bigger than I wanted, likely due to the chunky yarn I was using, so I have folded over the last inch and plan on buying a toggle for it and creating a button hole so it stays in place, currently its pinned with a knitters marking pin.
Stuff it, stuff it real good! When it comes to stuffing, I recommend separating your polyfill into smaller sections and doing many small sections to prevent your finished project being lumpy. I also always recommend stuffing more than you think necessary as over time the stuffing will lose some of its fluffiness and the last thing we want is a saggy yoda. For the smaller components (legs and feet) I use tweezers to stuff as you are often stuffing through quite small holes. I stuffed both legs and arms, despite it not being mentioned in the pattern, just to ensure he would stand properly and to make him nice and squishy!
Assembly, this is where it got a little tricky. I found the pattern to be lacking in the assembly instructions so I went off the pictures on the ravelry pattern and just gave it my best shot - he definitely looks better with his cardigan on! I sewed on the eyes as I didn't have any safety eyes in my stash, and placed the nose in the middle using the bottom row of where I placed the eyes as placemarkers. The ears were easy enough to place, 5 stitches on either side of the eyes. I did sew up the ears a little to help create the shape. I found the legs the hardest bit to get right as the legs were a tad too big for his bottom, but he does stand up, although he does look a tad jaunty. I attached the legs one stitch either side of the last round. I attached the arms at the shoulder seam and pinned them in place using marking pins to ensure they looked even, using the ears for alignment. When it comes to attaching limbs, ears, etc., I always use marking pins so I can take a step back and make sure they are even and in the right place.
This was a really fun and super cute project to do and I think I will be gifting it to a friend in the near future. Amigurumi is a really fun skill to add to your repertoire and can be used to make gifts for friends and family all year round. Don’t be phased if you haven’t done amigurumi before, it's just really tight crochet in the round.
More pictures are available on our Ravelry project which can be found here.
If you have any questions, do feel free to drop us a message on Instagram or Facebook.
Pattern: Baby Yoda Amigurumi by Larissa Maced.
Yarn: Carpet Yarn from Eliza Conway at Staithes Arts and Crafts Centre, DK, 2 balls in green used for the body, limbs and ears; Lion Brand Scarfie, chunky, 216 cream/silver for the cardigan body; Stylecraft, DK, black for the eyes, white and grey for the cardigan sleeves and border.
Crochet hooks: 2.5mm and 4mm, browse our range of crochet hooks here.
To stay up to date with all of our latest projects and products make sure you follow us on Instagram and Facebook.
Happy crafting and until next week!
Emilly x
